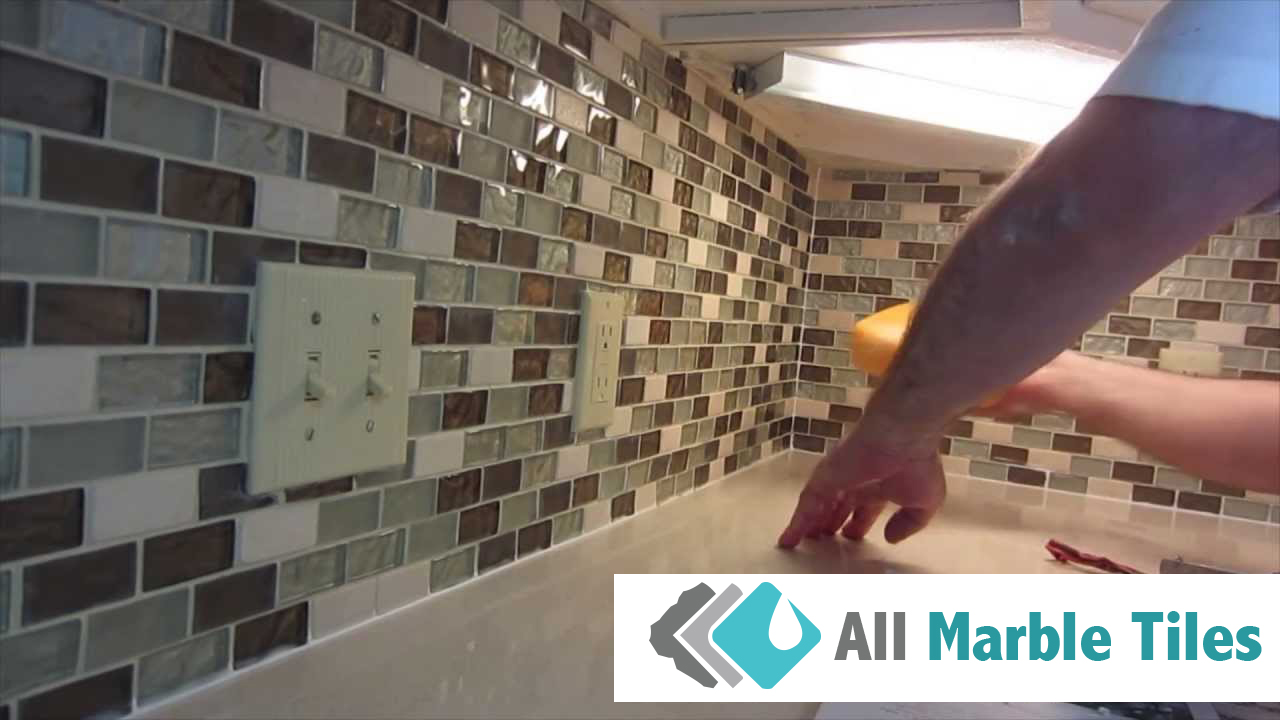
Are messy spills and greasy splatters becoming an unsightly nightmare for you? Or are those stain-prone spots behind your kitchen sink becoming more difficult to clean? Well, there is a great solution that you can consider to ease your problems –a mosaic tile backsplash. With the right color combination and the use of beautiful, translucent glass mosaics, the end result can add sparkle and shimmer to your kitchen.
Mosaic tiles comprised of an array of small tiles that form a cohesive and aesthetically appealing collage pattern. It provides a fantastic visual pop to any space they are utilized in and the only limitations you will encounter are only those set by your own creativity. Read on to find out how you can install a mosaic tile backsplash in your kitchen:
Preparations
You should turn off all power to any electrical receptacles on the wall you are tiling. Once done, you can proceed to install a temporary ledger. You will need to lay some scrap cardboard on your counters and against the wall to act as a spacer. Now, affix a piece of lumber between the countertop and wall with drywall screws. This is your ledger. Also, ensure that it’s fairly even with the top of the cardboard spacer.
New drywall and other porous surfaces bond well with thinset, but you can still tile over a wall that’s painted. You just need to rough up the surface with a sanding sponge (approximately 80-grit). If you are planning to install translucent tiles over brightly-colored walls, you should prime it with a sealer-primer first. This prevents the color from bleeding through the thinset when you sand.
Mark the Layout
Always select an area that’s considered a natural focal point. Once you picked that out, mark out the centerline on the ledger with some painter’s tape. Next, you can lay out the sheets for the starting area. A general rule of thumb is to leave a 1/8-inch expansion gap at the perimeter. In most cases, you will not be working with a single, large sheet. There are multiple sheets to lay but the process is the same.
Coat, Comb and Smoothen the Thinset
Once the thinset is mixed in a bucket, you can begin applying in the focal-point area first. A fanning motion is a good technique to help you achieve an even thickness of approximately a quarter-inch. Remember to work in small sections as you don’t want the thinset to cure or skin over.
Next, you will be combing the thinset with the notched edge of your trowel. Simply hold it at a slight angle to the wall and comb horizontally. Any excess thinset should return to the bucket. The last step of the thinset application requires you to smoothen out the area with a downward motion. You will want to eliminate any notched lines as it will show through translucent tiles.
Tile Installation
When you place the first tile sheet, do so with gentle pressure. You may need to tap it lightly with a hammer too. While adding the tile sheets, you will want to ensure it looks continuous on the wall. Check to make sure that the tile sheets are at a consistent depth. When the tile sheets are pliable enough, you can remove the paper facing. A moist sponge can help loosen the adhesive.
When you install each tile, you should back-butter it with a layer of thinset before pressing it into place. You will want to do this with your fingers wet to prevent adhesive residues from sticking onto your fingers. Next, let everything cure for at least 48 hours.
Grouting and Caulking
Clean the tiles first with a wet sponge and nylon scrub brush before grouting. You should always achieve a uniformed texture for your premixed urethane grout before applying it with an epoxy grout float. Work in small sections until the entire area is covered. You’re almost there! Using a caulk gun, apply the contents to the perimeter of the backsplash area. Once done, remove all your prep work, reinstall all your electrical receptacles and you’re done.
If you are ready to take on some DIY work, why not start browsing through our inventory of beautiful backsplash tiles to kick off your project?
https://www.allmarbletiles.com/
Read More
Recent Comments