— Italian Carrara Tiles

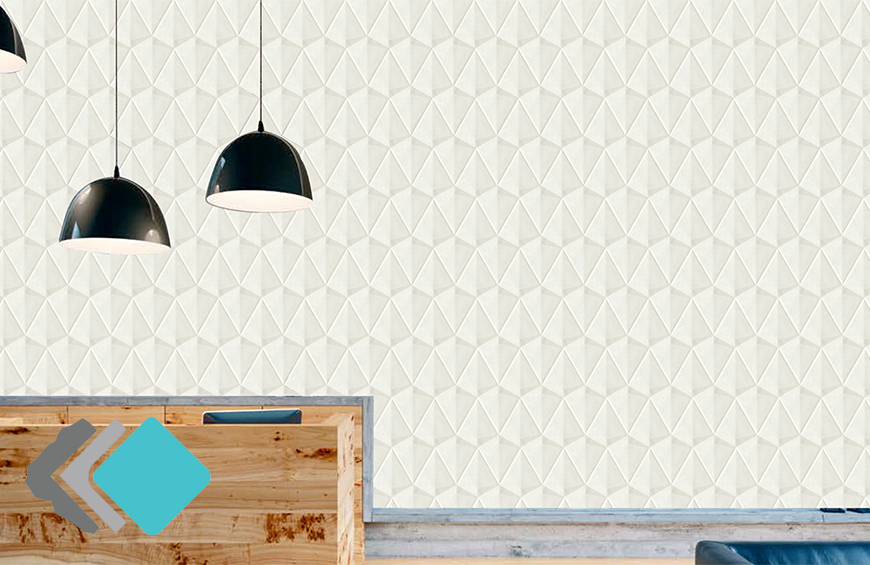
Enjoy the organic subtleties of concrete with this precast ready-to-install tile. All Marble Tiles designed and manufactured to bring a natural feel with modern simplicity and classic, timeless beauty to any area. To achieve this, the tiles have natural variation and random shading in every piece and box; these are characteristics of concrete tiles made with cement. The varying shades, color, pattern and slight size differences enhance and further promote the natural look and feel of the concrete tiles installed to any area. All Marble Tiles stimulates versatility by offering unique 2D shapes and 3D sculptural designs.

What is the difference between other Waterjet or Mosaics and 3D Mosaics?

We can say freely the big difference is you can feel shapes on the sculptural designs.

What are 2D Mosaics? 

What are 3D Mosaics? 

Free Shipping in the USA!

Read More

cover-how-to

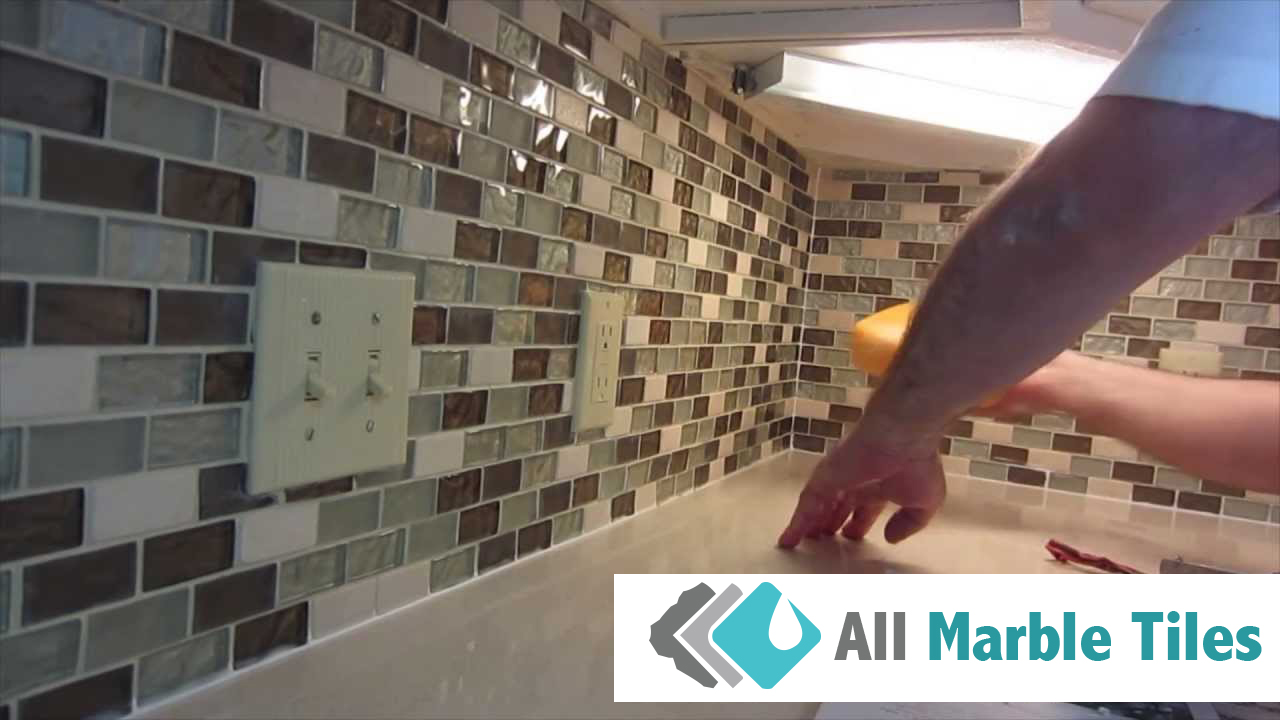
Are messy spills and greasy splatters becoming an unsightly nightmare for you? Or are those stain-prone spots behind your kitchen sink becoming more difficult to clean? Well, there is a great solution that you can consider to ease your problems –a mosaic tile backsplash. With the right color combination and the use of beautiful, translucent glass mosaics, the end result can add sparkle and shimmer to your kitchen.

Mosaic tiles comprised of an array of small tiles that form a cohesive and aesthetically appealing collage pattern. It provides a fantastic visual pop to any space they are utilized in and the only limitations you will encounter are only those set by your own creativity. Read on to find out how you can install a mosaic tile backsplash in your kitchen:

Preparations

You should turn off all power to any electrical receptacles on the wall you are tiling. Once done, you can proceed to install a temporary ledger. You will need to lay some scrap cardboard on your counters and against the wall to act as a spacer. Now, affix a piece of lumber between the countertop and wall with drywall screws. This is your ledger. Also, ensure that it’s fairly even with the top of the cardboard spacer.

New drywall and other porous surfaces bond well with thinset, but you can still tile over a wall that’s painted. You just need to rough up the surface with a sanding sponge (approximately 80-grit). If you are planning to install translucent tiles over brightly-colored walls, you should prime it with a sealer-primer first. This prevents the color from bleeding through the thinset when you sand.

Mark the Layout

Always select an area that’s considered a natural focal point. Once you picked that out, mark out the centerline on the ledger with some painter’s tape. Next, you can lay out the sheets for the starting area. A general rule of thumb is to leave a 1/8-inch expansion gap at the perimeter. In most cases, you will not be working with a single, large sheet. There are multiple sheets to lay but the process is the same.

Coat, Comb and Smoothen the Thinset

Once the thinset is mixed in a bucket, you can begin applying in the focal-point area first. A fanning motion is a good technique to help you achieve an even thickness of approximately a quarter-inch. Remember to work in small sections as you don’t want the thinset to cure or skin over.

Next, you will be combing the thinset with the notched edge of your trowel. Simply hold it at a slight angle to the wall and comb horizontally. Any excess thinset should return to the bucket. The last step of the thinset application requires you to smoothen out the area with a downward motion. You will want to eliminate any notched lines as it will show through translucent tiles.

Tile Installation

When you place the first tile sheet, do so with gentle pressure. You may need to tap it lightly with a hammer too. While adding the tile sheets, you will want to ensure it looks continuous on the wall. Check to make sure that the tile sheets are at a consistent depth. When the tile sheets are pliable enough, you can remove the paper facing. A moist sponge can help loosen the adhesive.

When you install each tile, you should back-butter it with a layer of thinset before pressing it into place. You will want to do this with your fingers wet to prevent adhesive residues from sticking onto your fingers. Next, let everything cure for at least 48 hours.

Grouting and Caulking

Clean the tiles first with a wet sponge and nylon scrub brush before grouting. You should always achieve a uniformed texture for your premixed urethane grout before applying it with an epoxy grout float. Work in small sections until the entire area is covered. You’re almost there! Using a caulk gun, apply the contents to the perimeter of the backsplash area. Once done, remove all your prep work, reinstall all your electrical receptacles and you’re done.

If you are ready to take on some DIY work, why not start browsing through our inventory of beautiful backsplash tiles to kick off your project?

https://www.allmarbletiles.com/

Read More
water jet mosaic

Read More

Although marble is a type of stone, it is also quite porous, which means that it will easily stain and absorb moisture. It is for this reason that it must be sealed when installed, and it should be resealed roughly every six to twelve months. However, before marble tiles can be sealed, it must first be cut and laid.

How to Cut Marble

During the marble flooring installation, the material will need to be cut. (details) While some people choose to use simple tile snappers, this is not the best option for marble. Tile snappers work well with ceramic tiles, but for marble you will want to choose a wet saw. The wet saw should feature a blade with a diamond tip so that it can cut more efficiently. It is important to exercise caution when slicing marble because it may snap while the grain is within the tile. When slicing marble, you will want to make sure that the cuts are clean.

Laying Down the Marble Tiles

Once the marble is cut, you will next have to lay down the tiles. First you will want to apply and spread the marble mortar within the floor’s center. It should be placed between the chalk lines of the tile pattern. This can be done using a trowel which is notched, and the side of the trowel can be used to create grooves within the mortar which will help it spread evenly. Once this is done you must spend the following ten minutes laying down the marble tile as the mortar will set very quickly.

As you lay down the tiles on top of the mortar, remember to create tile spacers which should be 1/8 inch near the marble corners, as this will ensure they are placed correctly. Double check the location of every tile using a level to verify that each tile’s surface is even. None of the edges should be above the other tiles.

Keep adding the mortar to the small spaces inside the design lines of the snap chalk with the trowel, and put down the marble in the design you want, starting within the center and working your way outward until you reach the walls. The marble tiles should then be left alone for a night so that the thin set can become hardened and cured.

Sealing the Marble

You will start by adding a small bit of the sealing material to a corner tile, so that you can test it to make sure it doesn’t cause discoloration. Wait for it to dry and then compare it to the other tiles. Once you’ve confirmed it won’t cause discoloration you can then use a foam brush to spread it across the floor’s surface. Start from one wall and work backwards so that you don’t step on the marble tiles. Gently add the sealant to each tile, and make sure the layer is thin. You will also need to add the sealant to the grout, and this can be done by running the brush down every grout row. Once this is completed, the floor should be left to dry for 4 hours.

cut-marble

Read More

clean-marble
If you are looking for intricate tiles that provide a luxurious feel, you can never go wrong with marble tiles. What’s more, variations such as tile mosaic combinations work well to provide a truly unique look for your interior design. While marble is an extremely durable material – the ancient Roman temples can attest to that – you should still take the proper steps to clean it well for retaining its natural luster. Want to keep your marble tile installation in a mint condition? Follow these effective and safe cleaning tips!

Dust Mop and Vacuum

The first thing you should do for cleaning marble tiles is to sweep up small debris and dirt using a dust mop. Make sure that the mop has a fluffy, soft head that can trap dust effectively. Microfiber dust mops will do just fine. When you sweep your marble tiles, you will want to prevent the debris from grinding against the stone surface. Ensure that you mop on a weekly basis, and not let grit and dirt build up. If you allow minute scratches to occur on the surface, it will become noticeable over time.

After this, it’s a good practice to vacuum the floor. While doing so, ensure that the wheels are functioning right and they don’t have any rough edges that can scratch your tiles. If your vacuum has any metal attachments, remove them to prevent damage on your beautiful tiles.

Use a Mild and pH Neutral Cleaning Solution

You can wet mop your marble tiles, but ensure that you use a mild cleaning solution that is pH neutral. Acidic substances are known to corrode marble materials, so do avoid using any harsh cleaners. Cleaners that contain vinegar or lemon are a no-no. When you shop at your local hardware store, look for quality cleaners that are suitable for regular use.

When you mop your tiles, you have to wring the mop just enough to avoid sloshing excess water on your floor. In addition, use a dry cloth to wipe down the surfaces to help them dry faster after mopping and prevent water spots from forming.

Throw the Scrubby Sponge Away and Use a Soft Cloth Instead

If you are planning to wipe a small area of your marble tiles by hand, you should never use scrubby sponges that are made out of steel wool. Metal will scratch your marble surfaces! A soft cloth is the perfect alternative for the task at hand.

Clean Up Any Oil-Based Stains, Mold and Organic Material

If your marbles tiles are stained by mold, food or other oil-based products, you should clean the affected area with a cleaning solution, water and a gentle cloth. Check the contents of the cleaning solution and ensure that it has only one of the following: acetone, mineral spirits, ammonia or bleach. You should never combine these substances together as it may produce a lethal gas.

Removing Paint from Your Marble Tiles

If you notice blots of paint on your marble tiles, quickly use a thin blade and some lacquer to gently scrape it off. Take extra care here as you do not want to scratch the natural stone. If you are dealing with thick paint, consider using a commercial-grade paint stripper (heavy liquid) that can be found at local hardware stores to help you rescue your tiles.

Read More

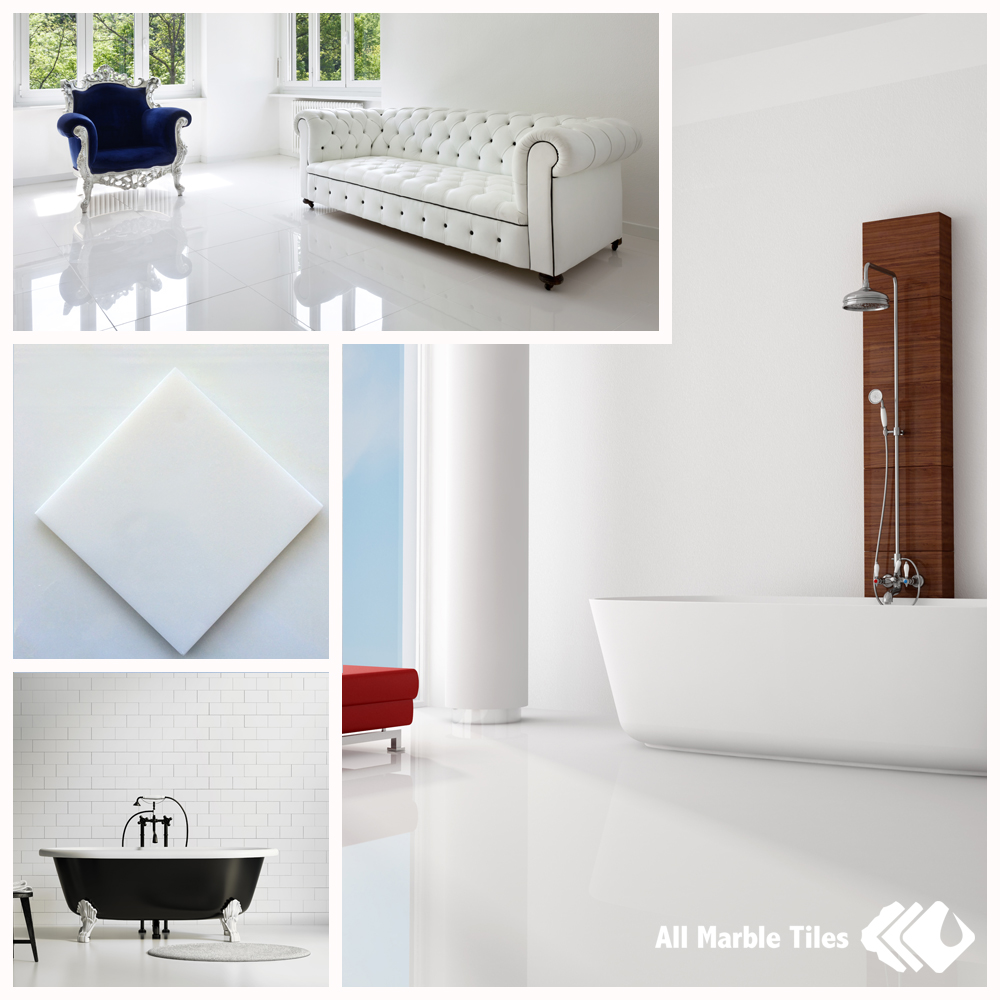
White has always been a color of elegance and you can choose it as a theme for your interior when you purchase the Thassos White Marble Collection. This tiles spark beauty wherever they are installed; in the bathroom, kitchen, living room or even out door. Using either a classic or modern style approach, it’s about time you transformed how your house looked with Thassos marble tiles.

Nothing can compare to Thassos white marble in beauty, and the possibility of playing around with colors gives you multiple options of beautifying your house. Marble stone is also known to be durable and tough in nature, so you won’t ever complain about a chip on the floor or a crack on the wall. Our Thassos White Marble collection will last you a lifetime and in this lifetime your home will always have a beautiful and natural edge you will appreciate every day.

It’s about time you got rid of the cement floors and rotting wooden floors and have a complete makeover. Thassos White Marble tiles will make your home striking and elegant as opposed to the dullness you once knew of.

Just make your order today of any tile choice in the Thassos White Marble collection we have and we’ll send the package and installation experts to your doorstep.

Thassos White Marble for Your Kitchen Floor Tile And Bathroom Wall Tile

Read More

A new look in your bathroom renovation you need this year and if you already have that in mind, then you are considering bathroom tile ideas. There are scores of options out there to use as flooring so you need to know what kind of décor you are trying to achieve. You can choose to go with vivid textures or laidback ones; on the other hand you can choose one color option or decide on an artistic blend.

Since it’s your bathroom, there is no limit to how you can spice up the interior. When it comes to bathroom tile ideas, there are several ways to go about it. First, you need to decide on the size of the tile you will use. Larger tiles cover more space faster and you will need less of them to carpet an entire area. Moreover, large tiles will also give your bathroom a contemporary look. For smaller tiles, it will take lots of them to completely fill an entire room but they also have the advantage of fitting into small paces big tiles cannot. Style-wise, smaller tiles are perfect for creating a traditional look in your bathroom.


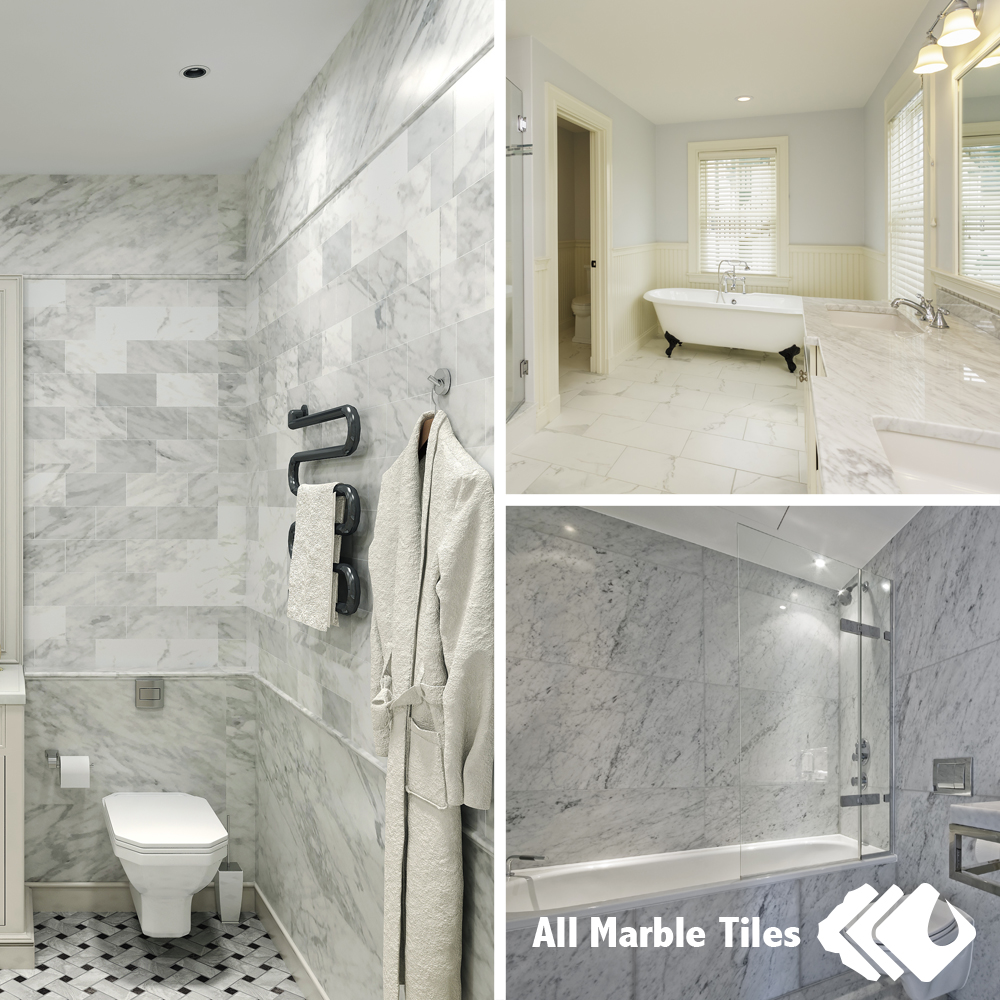
Bathroom Tile Ideas White Carrara Marble Tiles and Calacatta Gold Marble Tiles


After size, your next decision on bathroom marble tile ideas is deciding which tile type to use. For most houses, the choice bathroom interior option is ceramic. While it’s not a bad idea, it may come out as a cliché if used in the normal way we are all use to seeing. So you can play with ceramic ideas a bit or settle for something different. There are other tile makes out there like stone marble, glass, vinyl or even wood. Let your bathroom look different, and if you really have to choose ceramic because of affordability, then blend it with some marble or glass. Create a bathroom interior never seen before!

Color is another aspect to consider when drafting bathroom tile ideas. Take a minute and study the interior of your bathing area. Notice the color blends used by the contractors so you can go with something that accentuates or gives an artistic tile contrast. On the other hand, you also have the freedom to wipe all colors and have a clean surface to work on. From here you can decide on which colors you want and what kind of ambience to create.

You can visit websites online or even read home interior magazines to get as many bathroom tile ideas as possible.


Read More

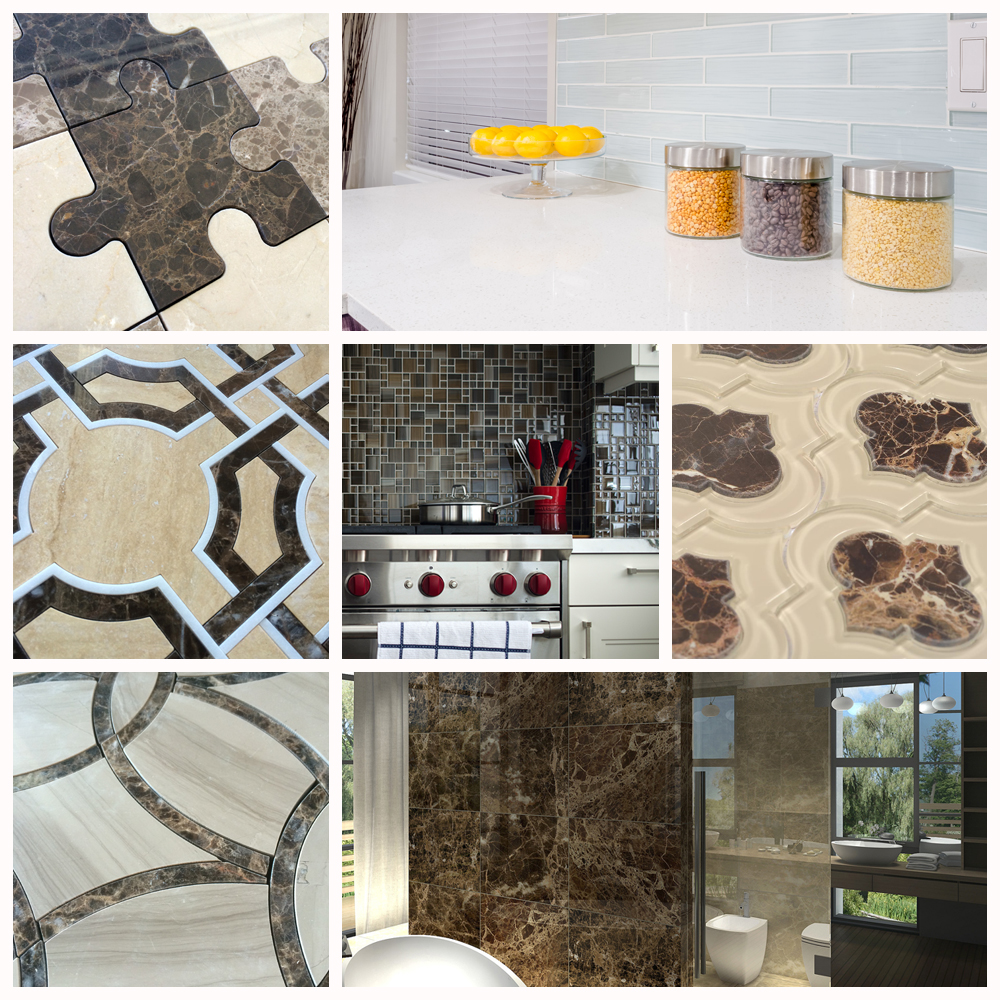
Dark Emperador Marble Tiles and Glass Tiles

Dark can be the new light. If you are considering using Dark Emperador marble tiles but want a touch of shine in them a little dubbing with glass tiles is all you need. It has been tried before and worked, so you can be assured it’s not a new experiment you are cooking up, but rather getting with the latest trends in interior design.

One thing you will notice about dark Emperador marble tiles is the specs of light showing up on the dark surface. These are the polyester resins they put on the tile during processing to give the dark hue a glossy touch. However, when the stone veining is too big, the resins will shrink inside and the shine may be a bit faint. But this does not mean you give up on Dark Emperador all together, modern builders are accentuating tiles to add more attractions and sophistication. For you, glass tiles will do the job just fine.

Dark Emperador Marble Tiles and Glass Tiles For Your Bathroom Tile Design

With the help of glass tiles, Dark Emperador can look brighter than they actually look. It will be a good consideration for your kitchen where dark Emperador will create an urban executive look. The glass tiles will come in to dab some light here and there and bring more attraction to the dark floors and walls. Your backsplash or kitchen-island is the best place to throw in the glass look. If you don’t have an island the counter tops will work just fine.

Dark Emperador marble tiles and glass tiles can be a good choice for your bathroom as well. The general knowledge in interior design is that dark colors will make a room look smaller and cozier. This is an ideal look for your bathroom since it is your place of Zen and relaxation. But since you don’t want your bathroom to look really small, throwing in light colors will help give the impression of space. You can see why glass tile is a crucial compliment of Emperador; as the dark tile makes the room cozy, glass tile gives it light and a spacious feel.

Dark tiles are perfect to hide dirt which is often referred to as clean tiles. White tiles can easily show dirt or scum when it accumulated, however Emperador is dark in color offering a perfect camouflage not forgetting that it is stone tile which has low resistance to staining. So don’t limit your interior look, be different by throwing in dark Emperador marble tiles and glass tiles in your kitchen or bathroom.

Read More

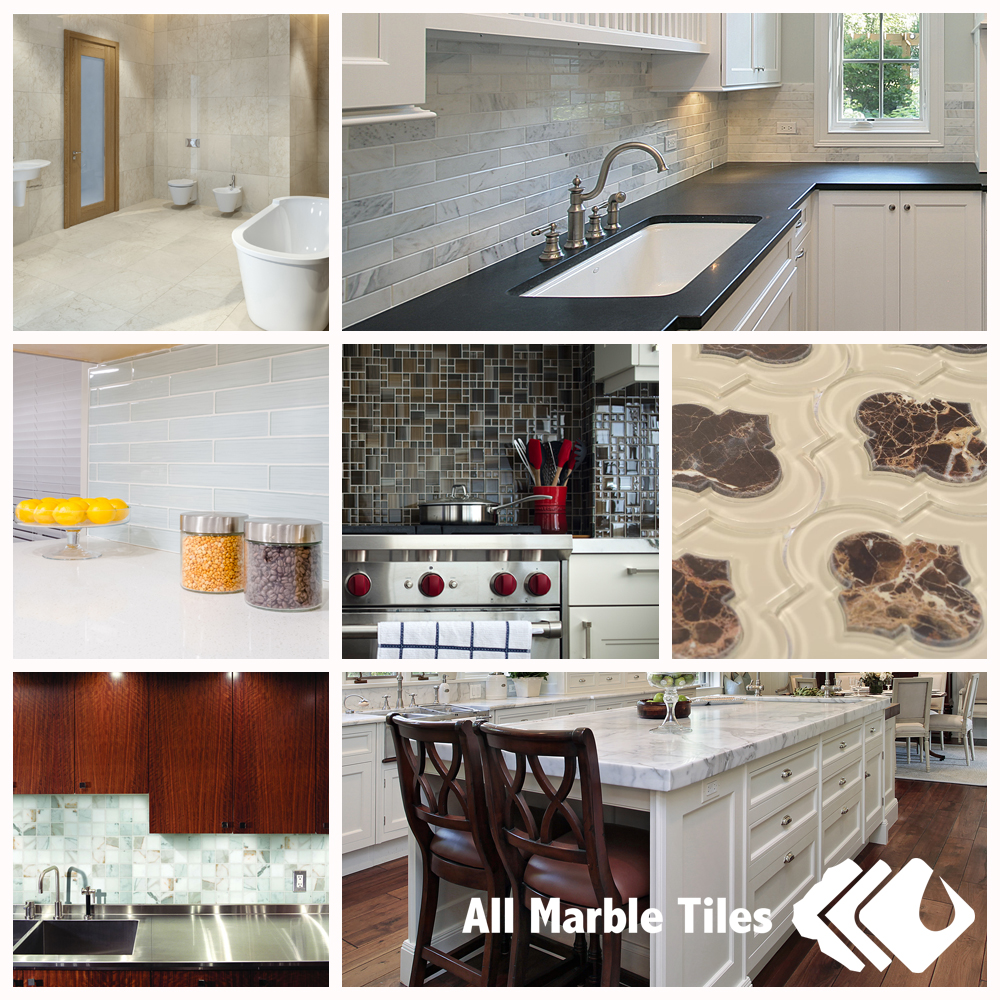
Kitchen Counter Top and Backsplash Tile

All kitchens may look good for preparing family meals in, but not all of them have that homely feeling. A little sprucing up of the kitchen counter top or backsplash tile can make a big difference in how your cooking area looks. And if you are a stay at home mum, remember this is one of your working station, so it needs to look good!

You may not realize it, but how your kitchen looks can determine how people perceive. A well organized kitchen means you are neat and meticulous, with a little artsy designs to it people will appreciate the style and chic in you. So it’s about time you had some cool kitchen counter top and backsplash tile ideas to give your home a magical look.

Kitchen Counter Top and Backsplash Tile

We begin with the backsplash, a small area behind your sink or the stove. We don’t normally put thought to it since all it does is got the slimy splashes from your cooking or washing. So many of us only see a wall protector but your backsplash can bring a difference to how your kitchen looks. Try working with stone marble tile for your stovetop to give your kitchen design an urbane look, which blends in to the ceramic feel in your walls or floors.

The Kitchen countertop is a wide area thus means will be more noticeable. Marble has always been a tradition for countertops but you can try it in a different way. How about varying the patterns and colors of your kitchen island and see how it comes out. There are different ways to lay the tiles as well creating different looks from what we ordinarily see. The internet is full of ideas to try out, so don’t install that island tile before making sure it won’t look similar to what the Joneses have next door.

Another great kitchen countertop and backsplash tile idea is giving both areas the same tile design. You can go with the same pattern and color to complement each other and give tasty highlights to your entire kitchen. On the hand, you can take your artsy level a notch higher and contrast these two areas. It is a tough one to pull so you may need an interior designer’s help to make sure the end result is good.

It is not all the time that you want to do a complete kitchen makeover. However, if you feel you can do with a little different look in your cooking area, then thing of changing small details like the kitchen countertop and backsplash.


Read More

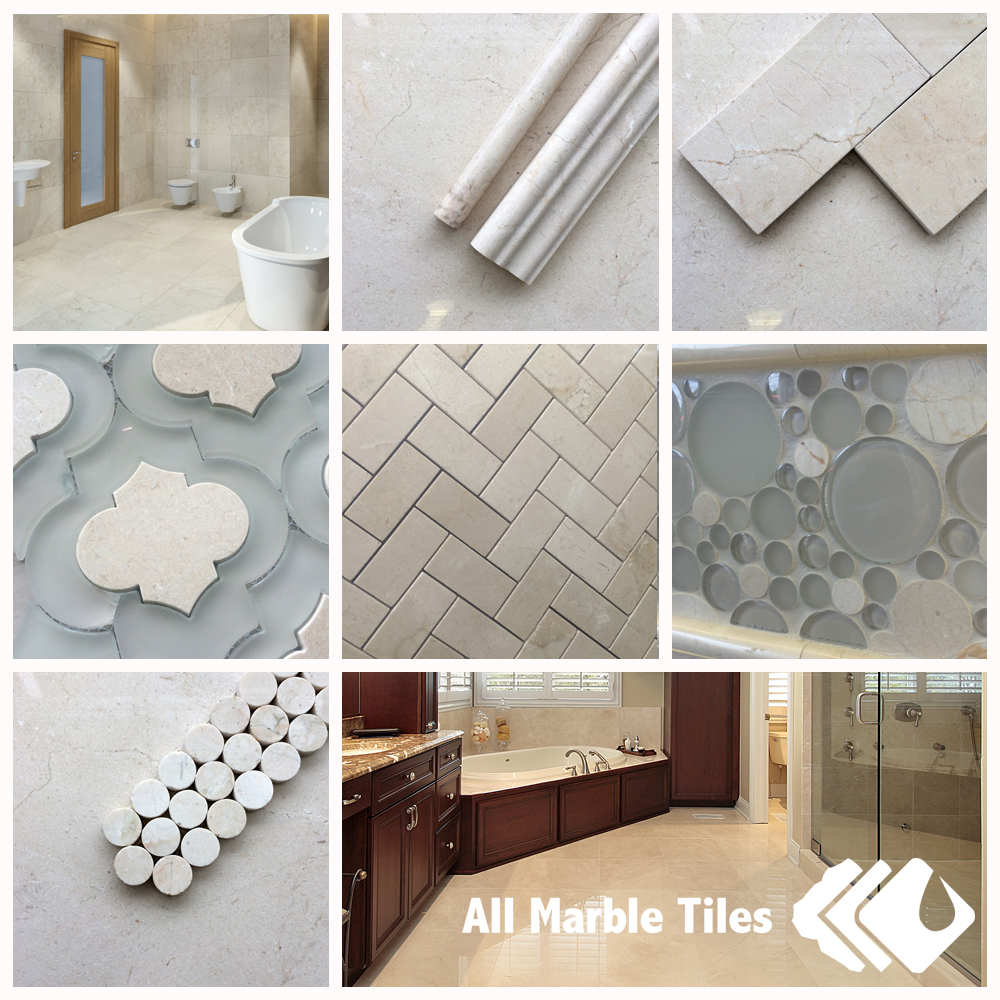
Crema Marfil marble tile is not new in construction; its popularity spreads worldwide thanks to its qualities as a stone tile. It is tough, durable and has a unique gloss that gives any home that hotel styled theme. It may feel expensive to buy at first, but when you window shop for discounts you will have the tiles with you sooner than you think.

This stone tile is appreciated by most builders and home owners because of the swirling and diversity seen on its surface patterns. It is easy to work with as well, and one doesn’t have to hire help to install if you have a little DIY skill in you. Though tough in nature, Crema Marfil Marble is easy to cut with a normal tile cutter and you can shape it to whatever style or size you want. Speaking more on size, the stone tile is normally cut in large sizes which make it easy to cover as much room as possible within a short time.

The Crema look is definitely covetable whether used on walls or floors. Marfil marble suits any area of your house where you need some sophisticated tweak. It beautifies your bathroom décor and accentuates the details of your kitchen. Its color is a perfect backdrop for your living room furniture and you are at will to add any other decorative details like paintings or sculptors. The best way to decorate with Crema Marfil marble tile is to play around with neutral tones, then build up interesting color designs with your furniture or other items in your house.

Crema marfil marble tile and mosaic

This Crema luxurious feel is available in the market at different prices. You can purchase it locally if there is a local store available or alternatively ship it from overseas. While buying, you can choose to be creative and order mosaic Marfil marble. It still bears the Crema hue like its counterparts but it adds other colors, texture feel or even veining on the surface. Crema Marfil Mosaic tile is perfect if you have an artistic mind in interior décor.

There are certain pointers you need to know while purchasing this stone tile. Make sure you are available to inspect the delivery to make sure all tiles match the colors you ordered and are also in the shape required. The tile condition is also important as some may arrive chipped or broken and may need replacing.

Let a mosaic interior inspire you while purchasing Crema Marfil marble tile, you won’t regret the decision.

Read More

Recent Comments